Update:
The Windows Azure Active Directory Module that was in preview when this was posted has been released and can be deployed straight to Azure Automation from this page: http://www.powershellgallery.com/packages/MSOnline/1.0
The original post follows:
The Azure AD PowerShell module have some dependencies that historically made it fail in Azure Automation. In fact, it’s the most upvoted suggestion for Azure Automation at the time of writing this.
But very recently a public preview of a new version of the module was released where the authentication part has been changed to use ADAL instead, which seems to fix this issue!
This is how you can test it yourself:
First, you need to uninstall any previous version of the module you might have. If you can, go ahead and uninstall the Microsoft Online Services Sign-In Assistant as well to make sure the new module works as expected (the dependency on this service is now removed).
Then go to the download page for the preview version of module, download it and install it. The installation procedure is very simple:
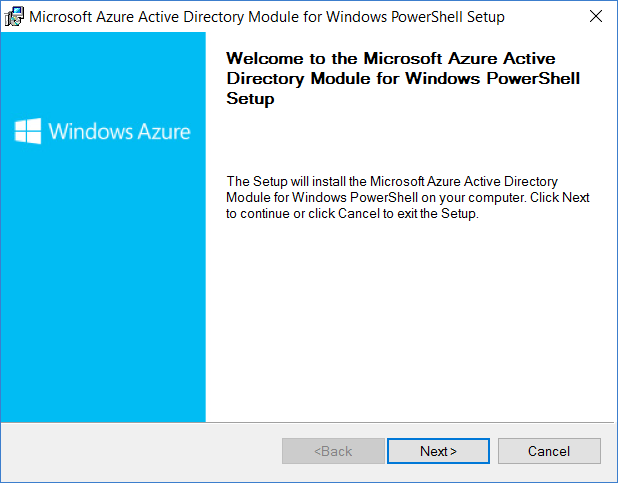
Click next…
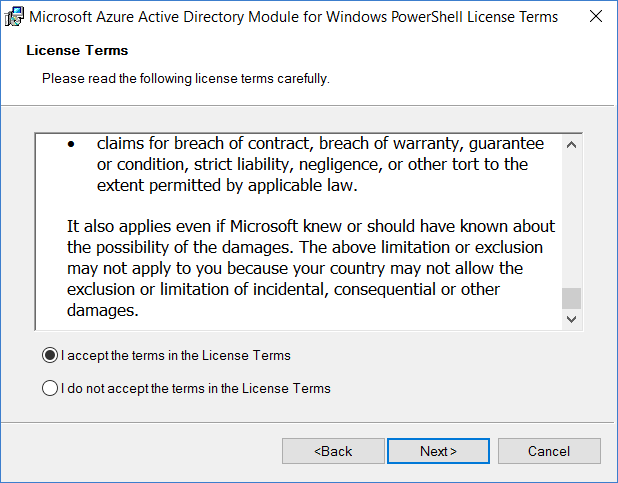
Read the license terms, and check the box if you agree. Click next again…
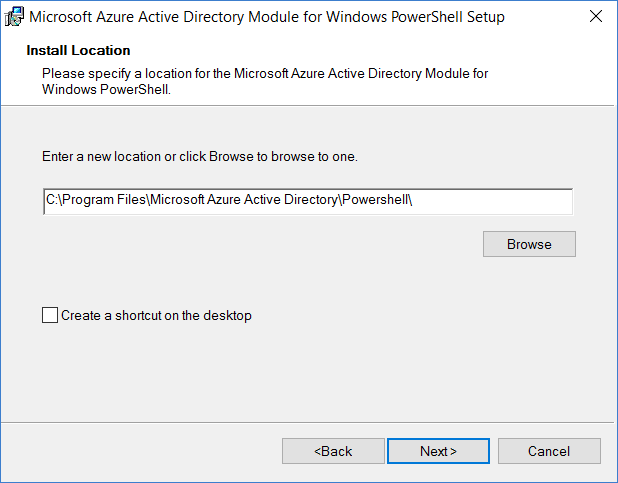
Choose an installation path (this actually not where the module currently ends up though, just the EULA-file…).
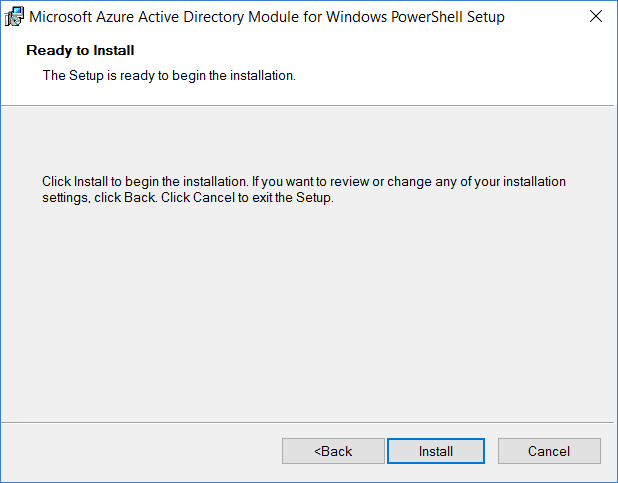
Click Install to begin the installation, and confirm the UAC-prompt if you get one.
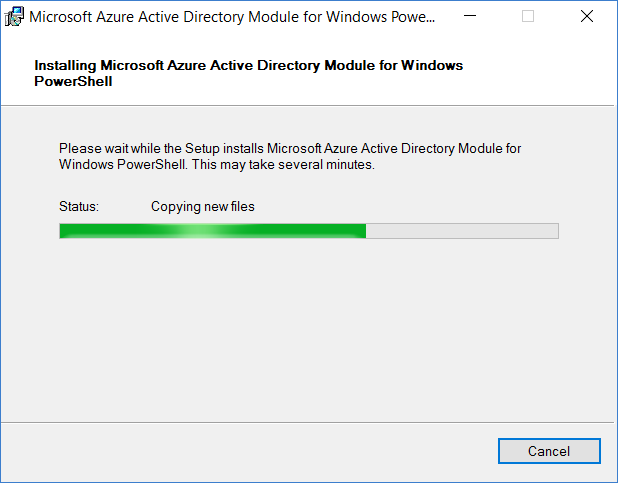
The installation runs…
And finally, just click Finish and the module is installed.
Now open a PowerShell prompt, and run the following commands:
Import-Module MSOnline
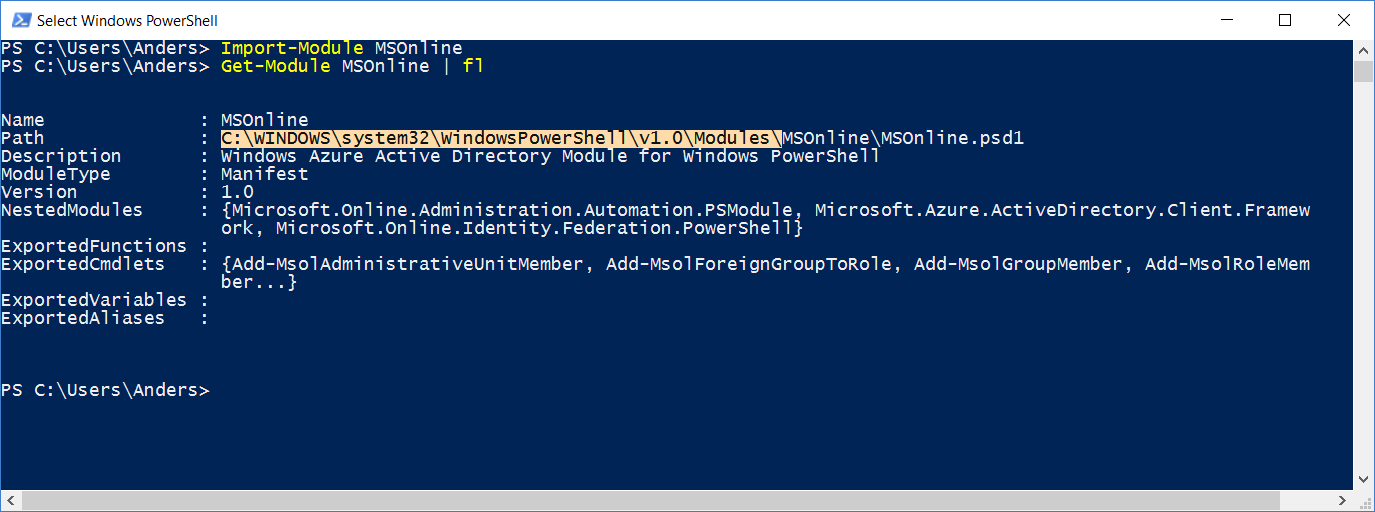
Get-Module MSOnline | Format-List
In the property “Path”, you’ll see where the module was installed, in my case it was “C:\WINDOWS\system32\WindowsPowerShell\v1.0\Modules\”:
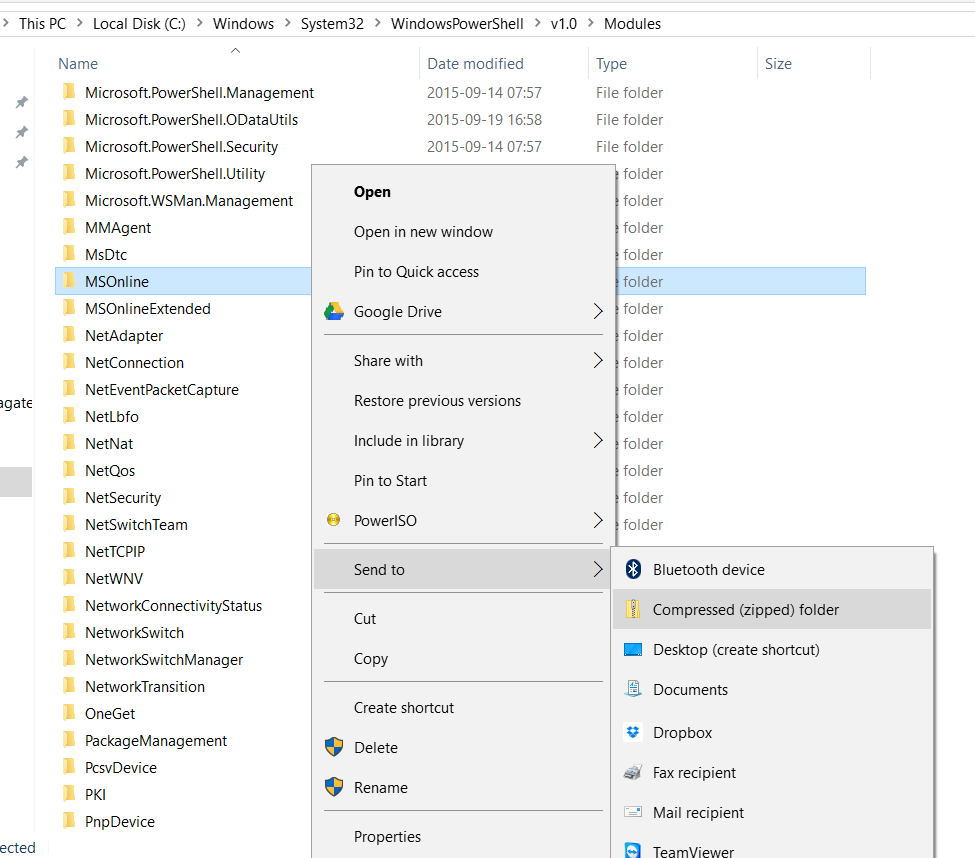
Go to that folder and zip the folders MSOnline and MSOnlineExtended, easiest way is probably to right-click on the folder, choose “Send to”, and then “Compressed (zipped) folder”, do this for both (one at a time). Should look something like this:
It will prompt you to place the zipped files on your desktop instead of the current folder, which is a good idea, so click “Yes” 🙂

You can now import those zip-files into Azure Automation. I recommend that you do this in the classical portal (I’ve had some issues when importing modules in the preview portal).
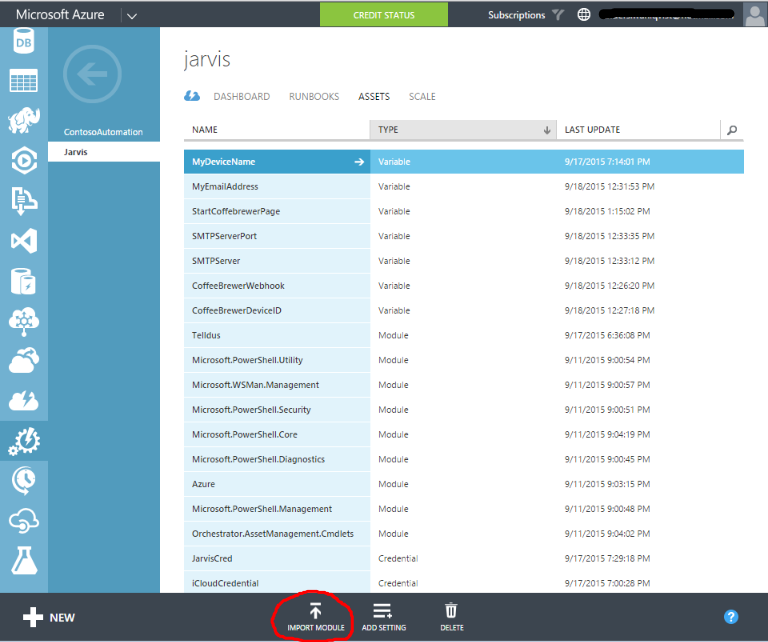
First, go to your automation account, then go to assets, and then click “Import Module” at the bottom:
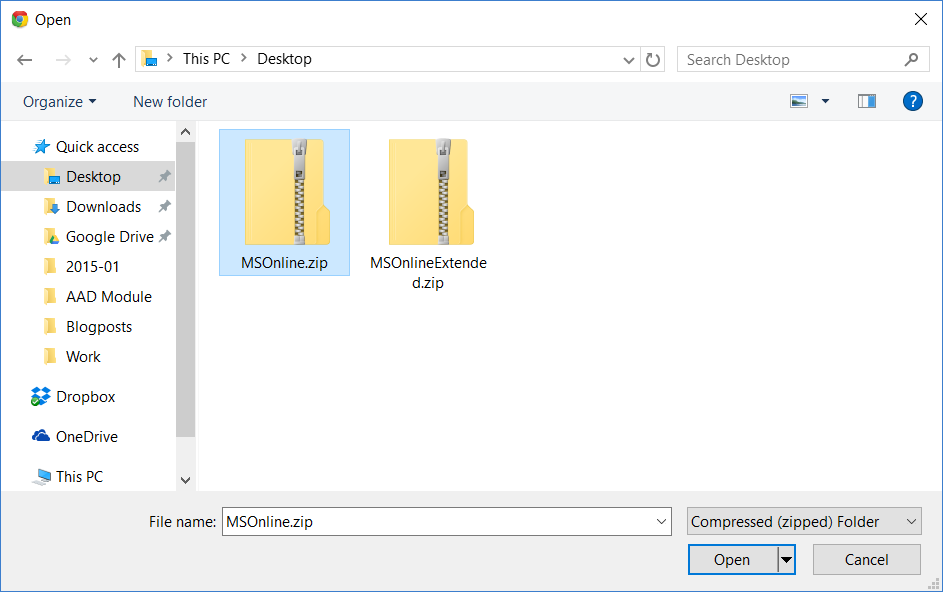
Browse to your zipped module and click open:
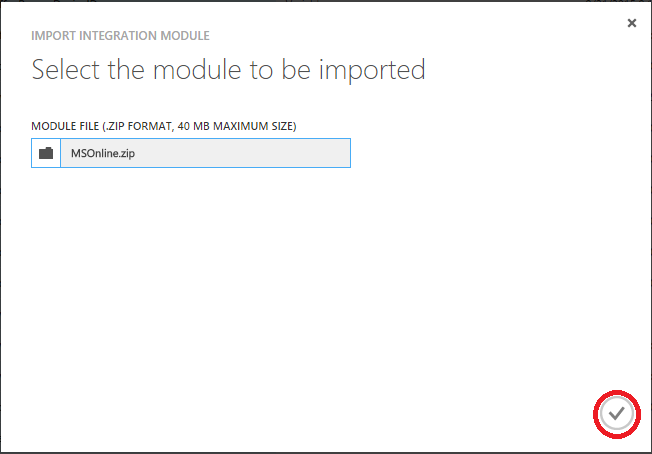
Click complete in lower right corner:
Repeat for both modules. You can follow the process at the bottom of the page:

When everything is done, you should be able to use the module in Azure Automation. A simple native PowerShell script runbook that just lists some users would look like this:
$AzureCred = Get-AutomationPSCredential -Name 'AzureADCred'

Connect-MsolService -Credential $AzureCred

Get-MsolUser
To give you an idea of how to assign a license:
$AzureCred = Get-AutomationPSCredential -Name 'AzureADCred'

Connect-MsolService -Credential $AzureCred

$UserPrincipalName = '[email protected]'
$AccountSkuId = 'mytenant:O365_BUSINESS_PREMIUM'

$LicenseOptions = New-MsolLicenseOptions -AccountSkuId $AccountSkuId -DisabledPlans $null

Set-MsolUserLicense -UserPrincipalName $UserPrincipalName -LicenseOptions $LicenseOptions -AddLicenses $AccountSkuId
I haven’t tested the preview module fully in Azure Automation yet, but so far it seems to work fine (adding licenses and so on works!). Try it yourself and share your experiences!
Happy automating Azure AD with Azure Automation 🙂
